As we near the end of July, I’m about halfway through Draft #2 of WINTER: Book Four of the Lunar Chronicles, so I thought this would be a good time to talk about my process for tackling this book, before I forget what I was doing when I took all of these very impressive looking photos.
For me, the first draft of a novel is all about getting to know the characters and figuring out what this story is about. Although I’m an outliner, the first draft inevitably veers away from that outline as I uncover plot twists that hadn’t occurred to me and character motivations that I’d been previously unaware of.
Which makes the second draft the “making it all work” draft. Now I know where I’m going with the plot, the major points I want to hit, and I have a general idea of how the characters grow and change over the course of the story. I just need to rewrite, revise, and re-arrange it all in a way that makes sense and (hopefully) keeps the reader engaged throughout it all.
This is the process I devised for wrangling the massive, complex plot I’d unearthed in WINTER’s first draft.
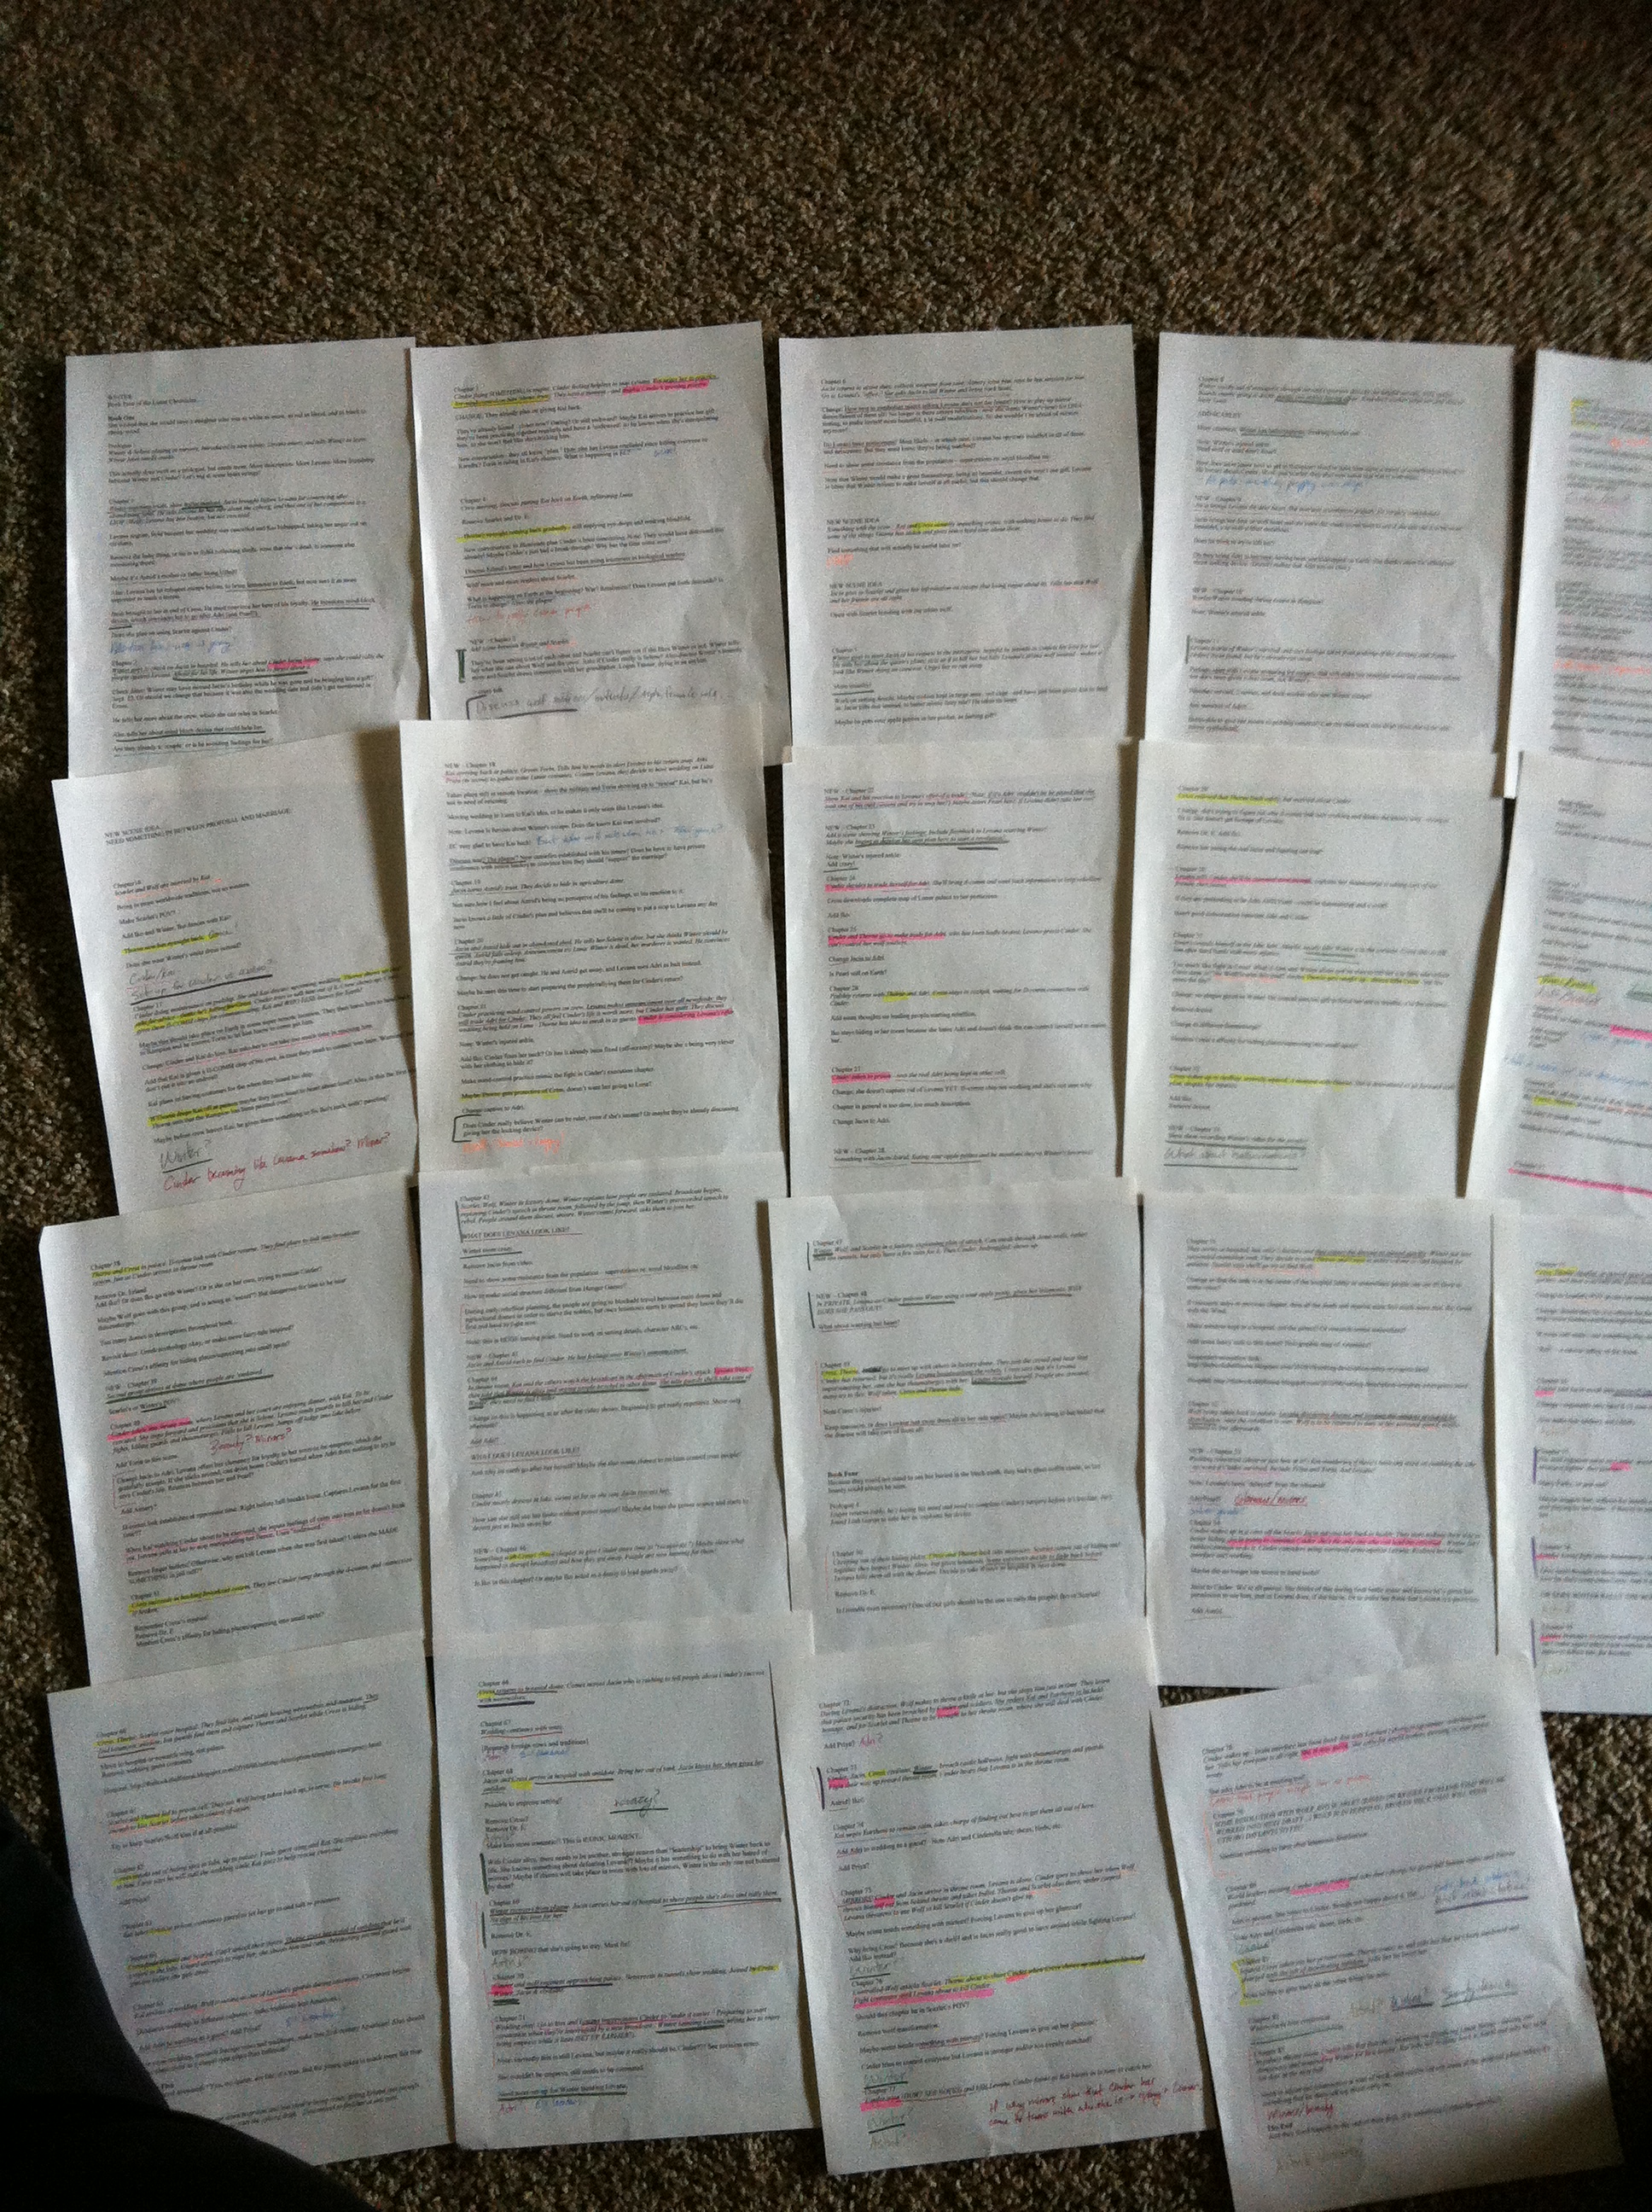
1. Read through the draft. First, to refamiliarize myself with the story (which I wrote in early 2011), simultaneously taking notes on things that need to change and things I think could be stronger: where the plot gets convoluted, where character motivations seem weak, what is working and what isn’t. I may make notes in the file for smaller changes I plan to make, but I don’t bother changing anything right now. Mostly I’m just making a list of ideas as they come to me.
2. While reading the draft and taking notes, I also make my scene list. The scene list is easily my favorite tool when it comes to revising. Simply: It’s a list in which every scene in the book is summarized down to just two or three sentences. It allows me to see the major plot points and how the story progresses from beginning to middle to end, without getting bogged down with any superfluous information.
3. Determine the major plot threads and subplots—assign each one a color. WINTER is the first book for which I’ve been this neurotic about keeping my subplots straight, but it’s complex enough that it felt warranted. Every major conflict (the war, the plague, Cinder vs. Levana), every major character arc, every romantic subplot—they all need to have something that resembles a beginning, a middle, and an end. They all need to face obstacles and set-backs. They all need to grow and change over the course of the story.
All in all, I counted sixteen plot threads in WINTER. That’s a lot to keep track of!
(At this point, I also began organizing those notes I’d taken in Step One, noting which plot thread each one most relates to. For example, if I’d made a note during my read-through that I needed to find a way to give more closure regarding the letumosis antidote, I would put that note under the Plague plot thread.)
4. Using their assigned colors, I indicate each plot thread throughout the scene list. Does this chapter relate to Winter’s character arc? Does this one involve a new obstacle in Cinder’s attempt to undermine Levana? Then it’s highlighted to correspond with that plot thread.
Most chapters relate to more than one subplot at a time, and you’ll probably find that the most pinnacle chapters often bring three or more subplots together all at once, so this can get messy.
But then, when you’re done highlighting, you are given a very telling view of your entire book.
At a glance, you can see:
– which subplots tend to be completely ignored
– which subplots are all clumped up near the beginning or near the end
– which subplots remain stagnant, with no increasing stakes or suspense, for long portions of the story
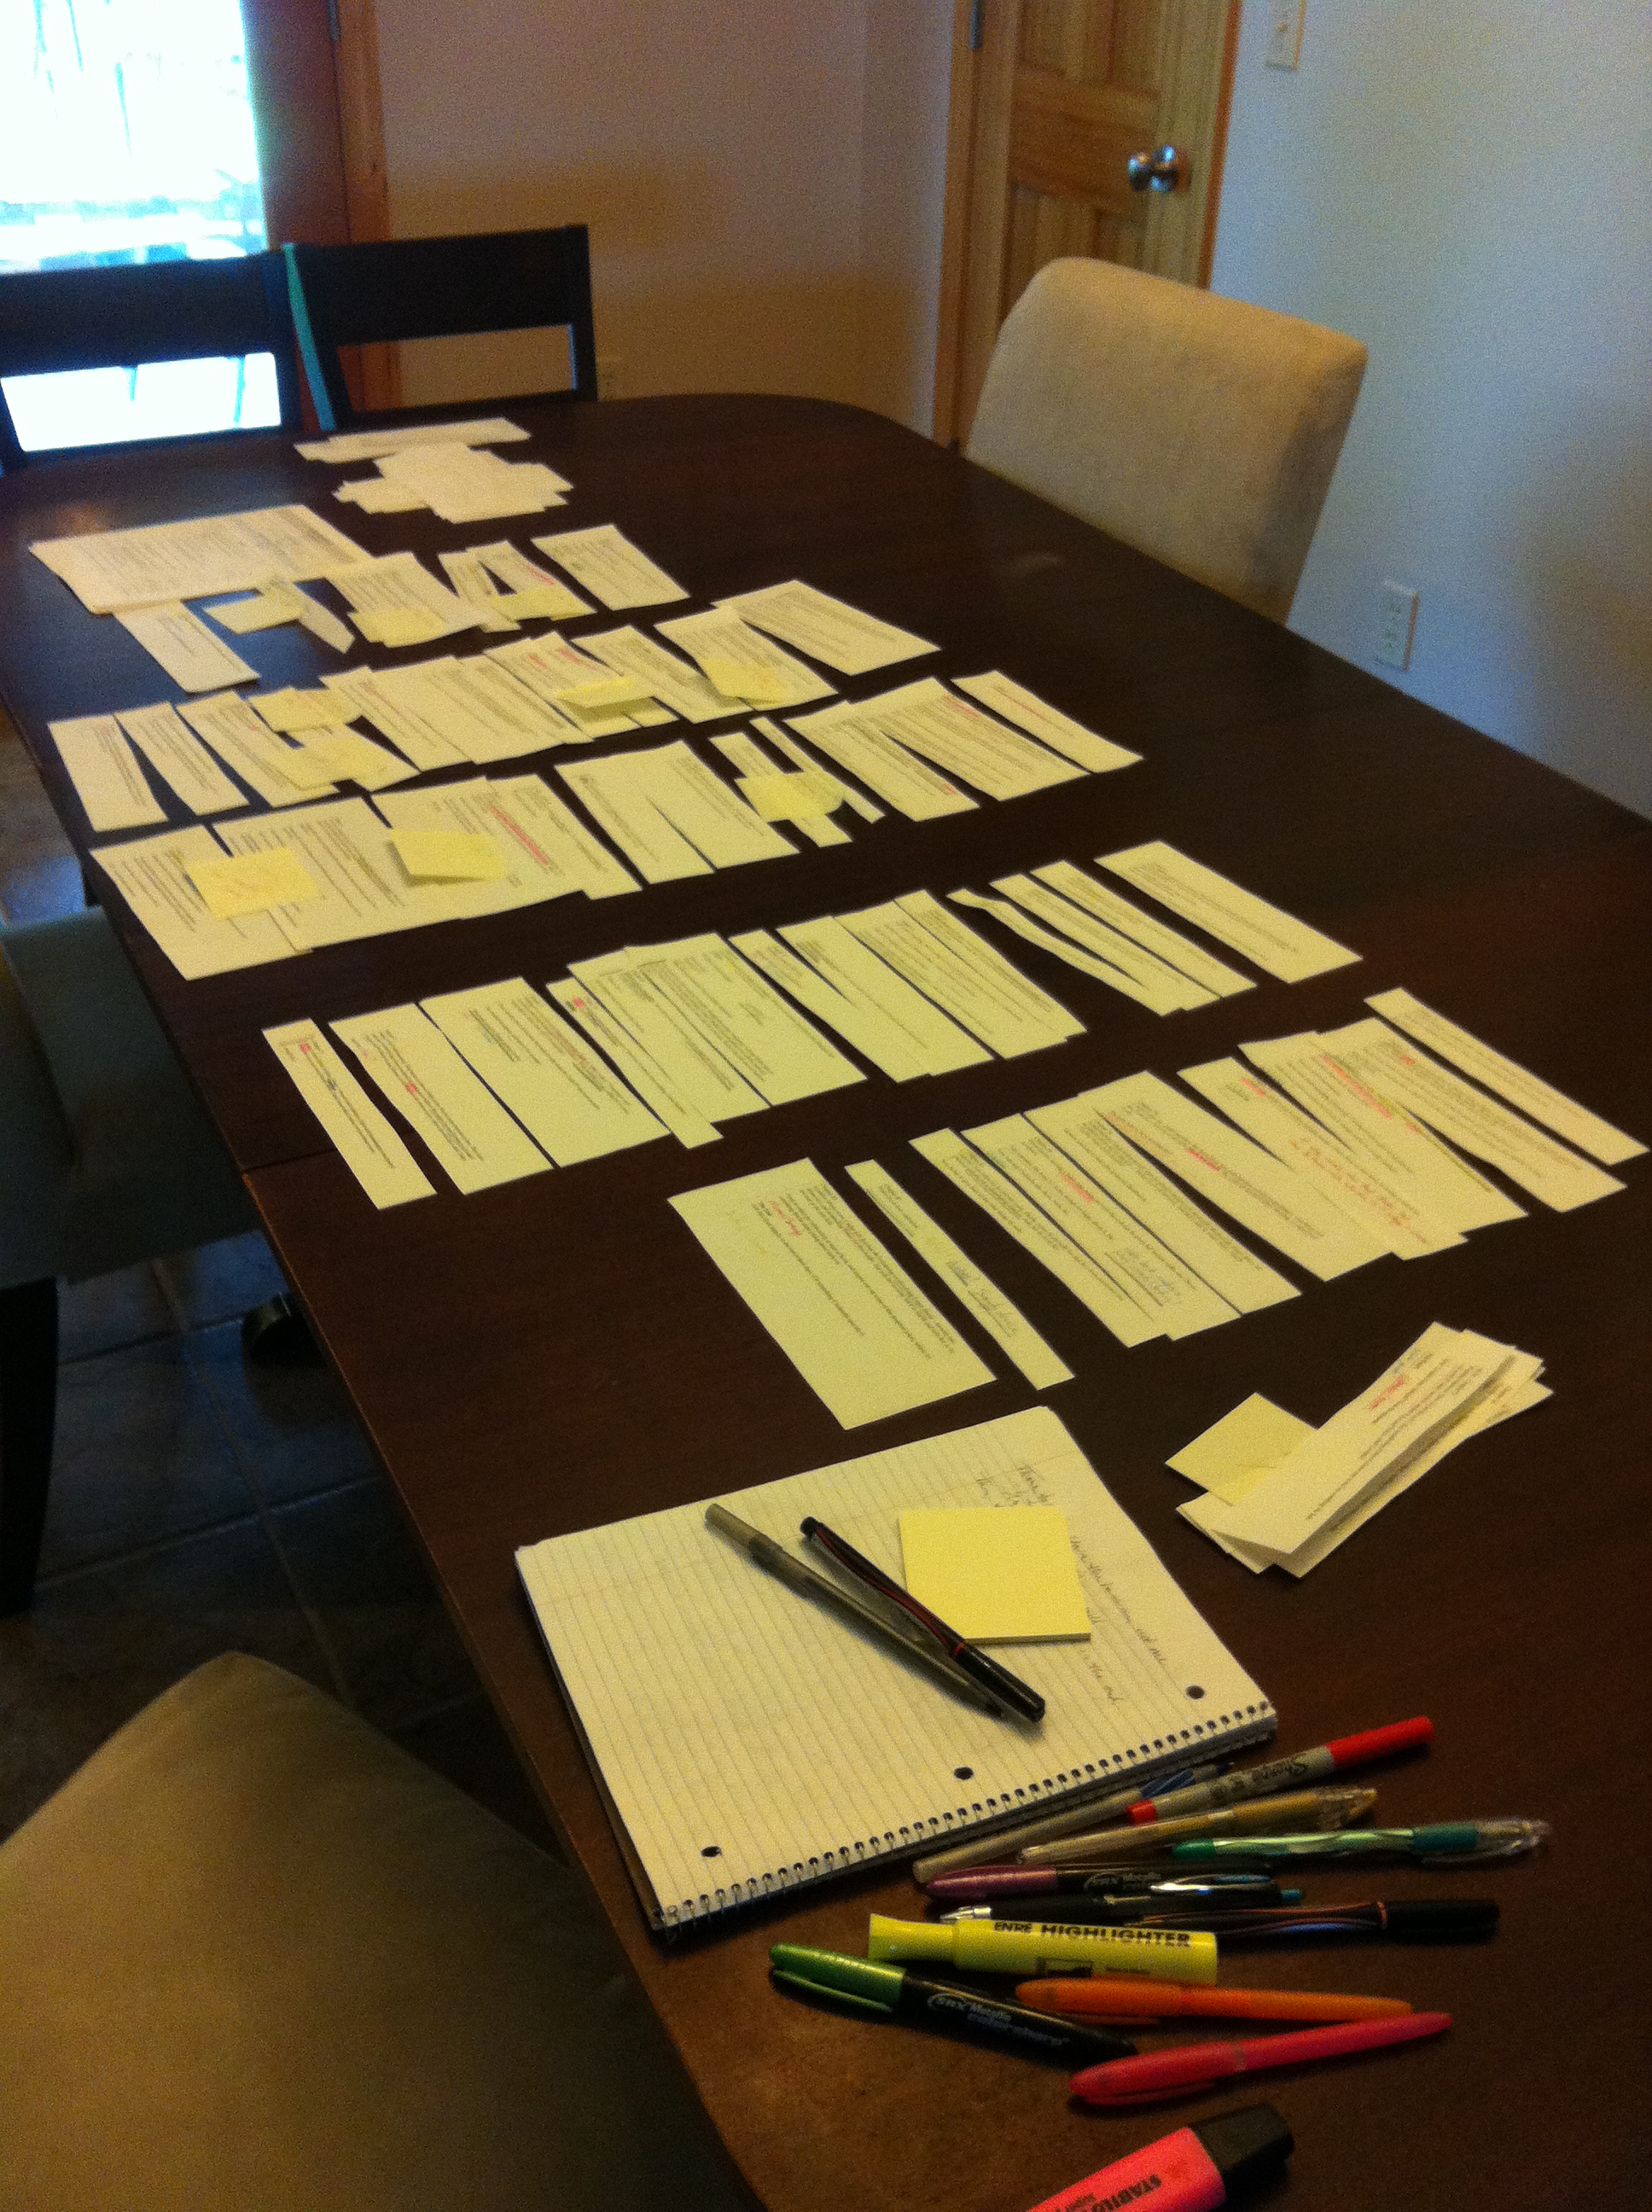
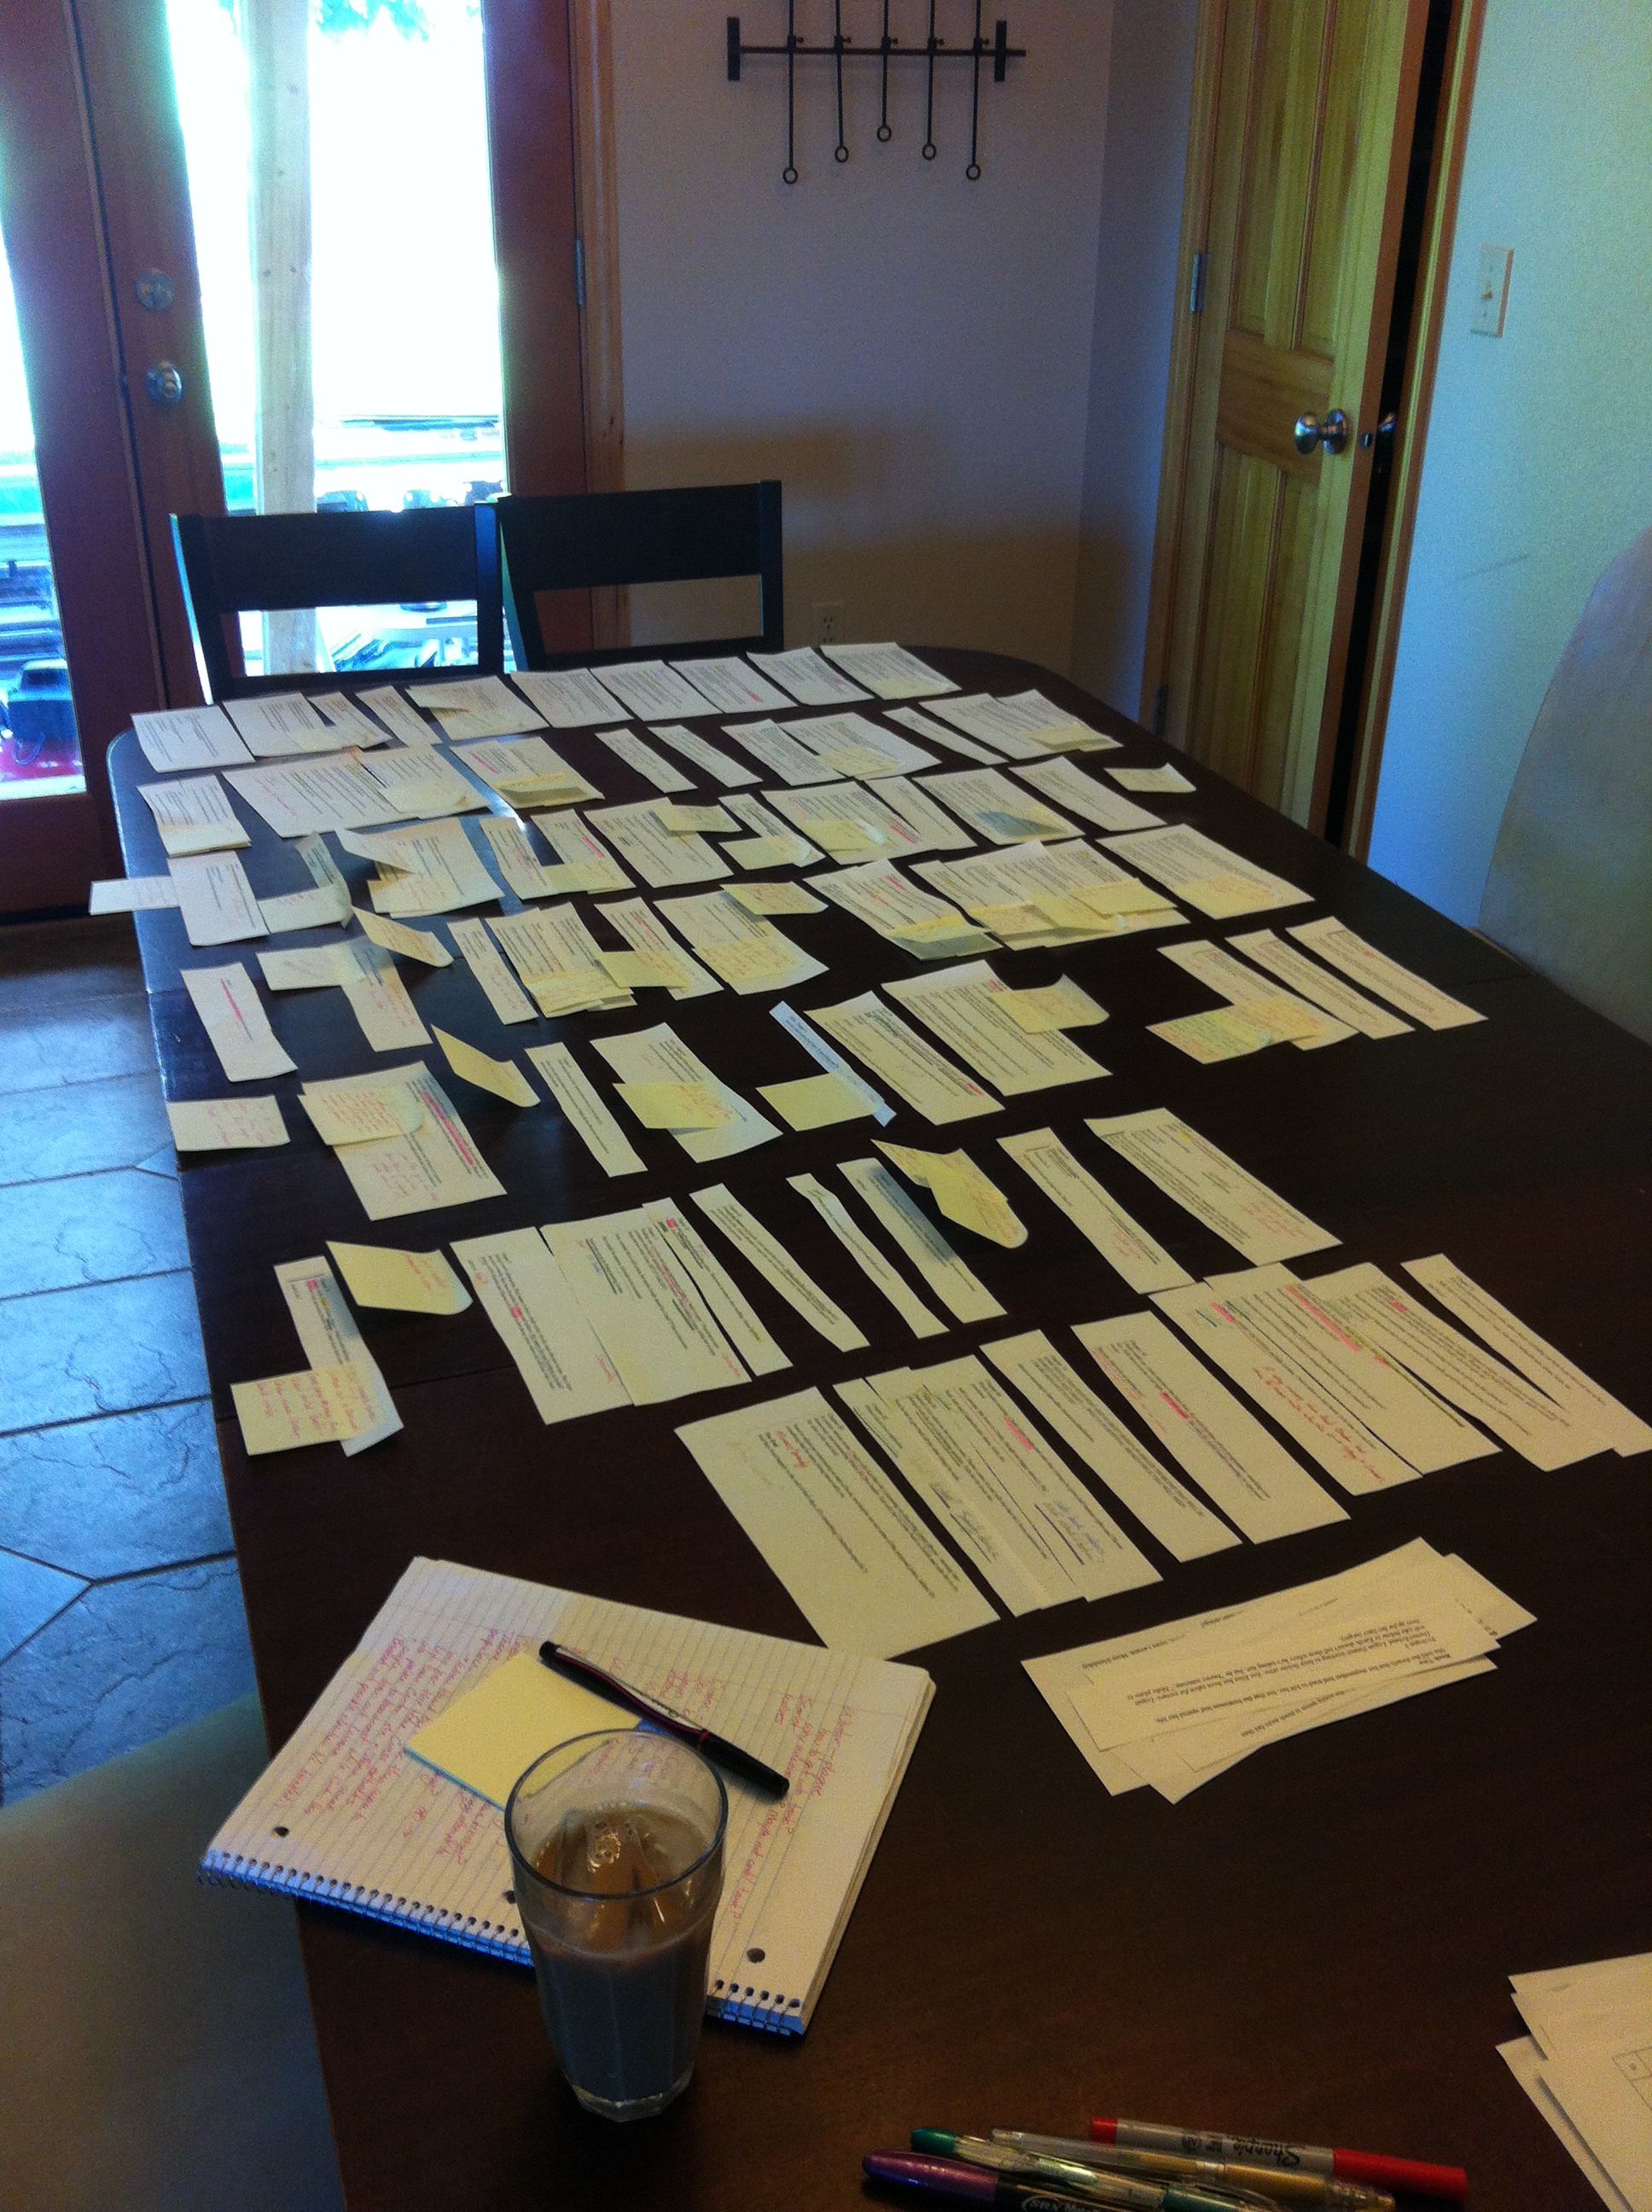
5. I separate the scenes and lay them out by subplot ,so I can work on each one individually. After cutting the scene list into little strips of paper, so that each scene is on its own, I pull out one plot thread at a time and begin to analyze. What could I do to make this plot thread stronger? How could I reorganize the events to make them more suspenseful? What obstacles could I add to make it more intense?
Note: I found that this method only worked for about a third of my plot threads – namely, the major ones. Subplots, such as how a character grows during the story, or the romance arcs, tend to hinge on those other major plots, and are therefore harder to isolate.
And so, once I had each major plot thread more-or-less figured out, it was time to…
6. Put it all back together. This requires much staring and thinking and brainstorming. Much shuffling around. Many notes about what will change in each existing scene. Many sticky notes indicating brand new scenes that need to be added. Much more rearranging. Until finally I felt as though each major plot works together and plays on each other to create a single interwoven story.
Then I went back to dealing with those subplots…
7. More color-coordinating. By this time, all those pretty highlights I’d made at the beginning had stopped being effective because things had changed so much. So I decided to use colored markers I’d found in a board game to once again indicate which scenes related to which plot threads.
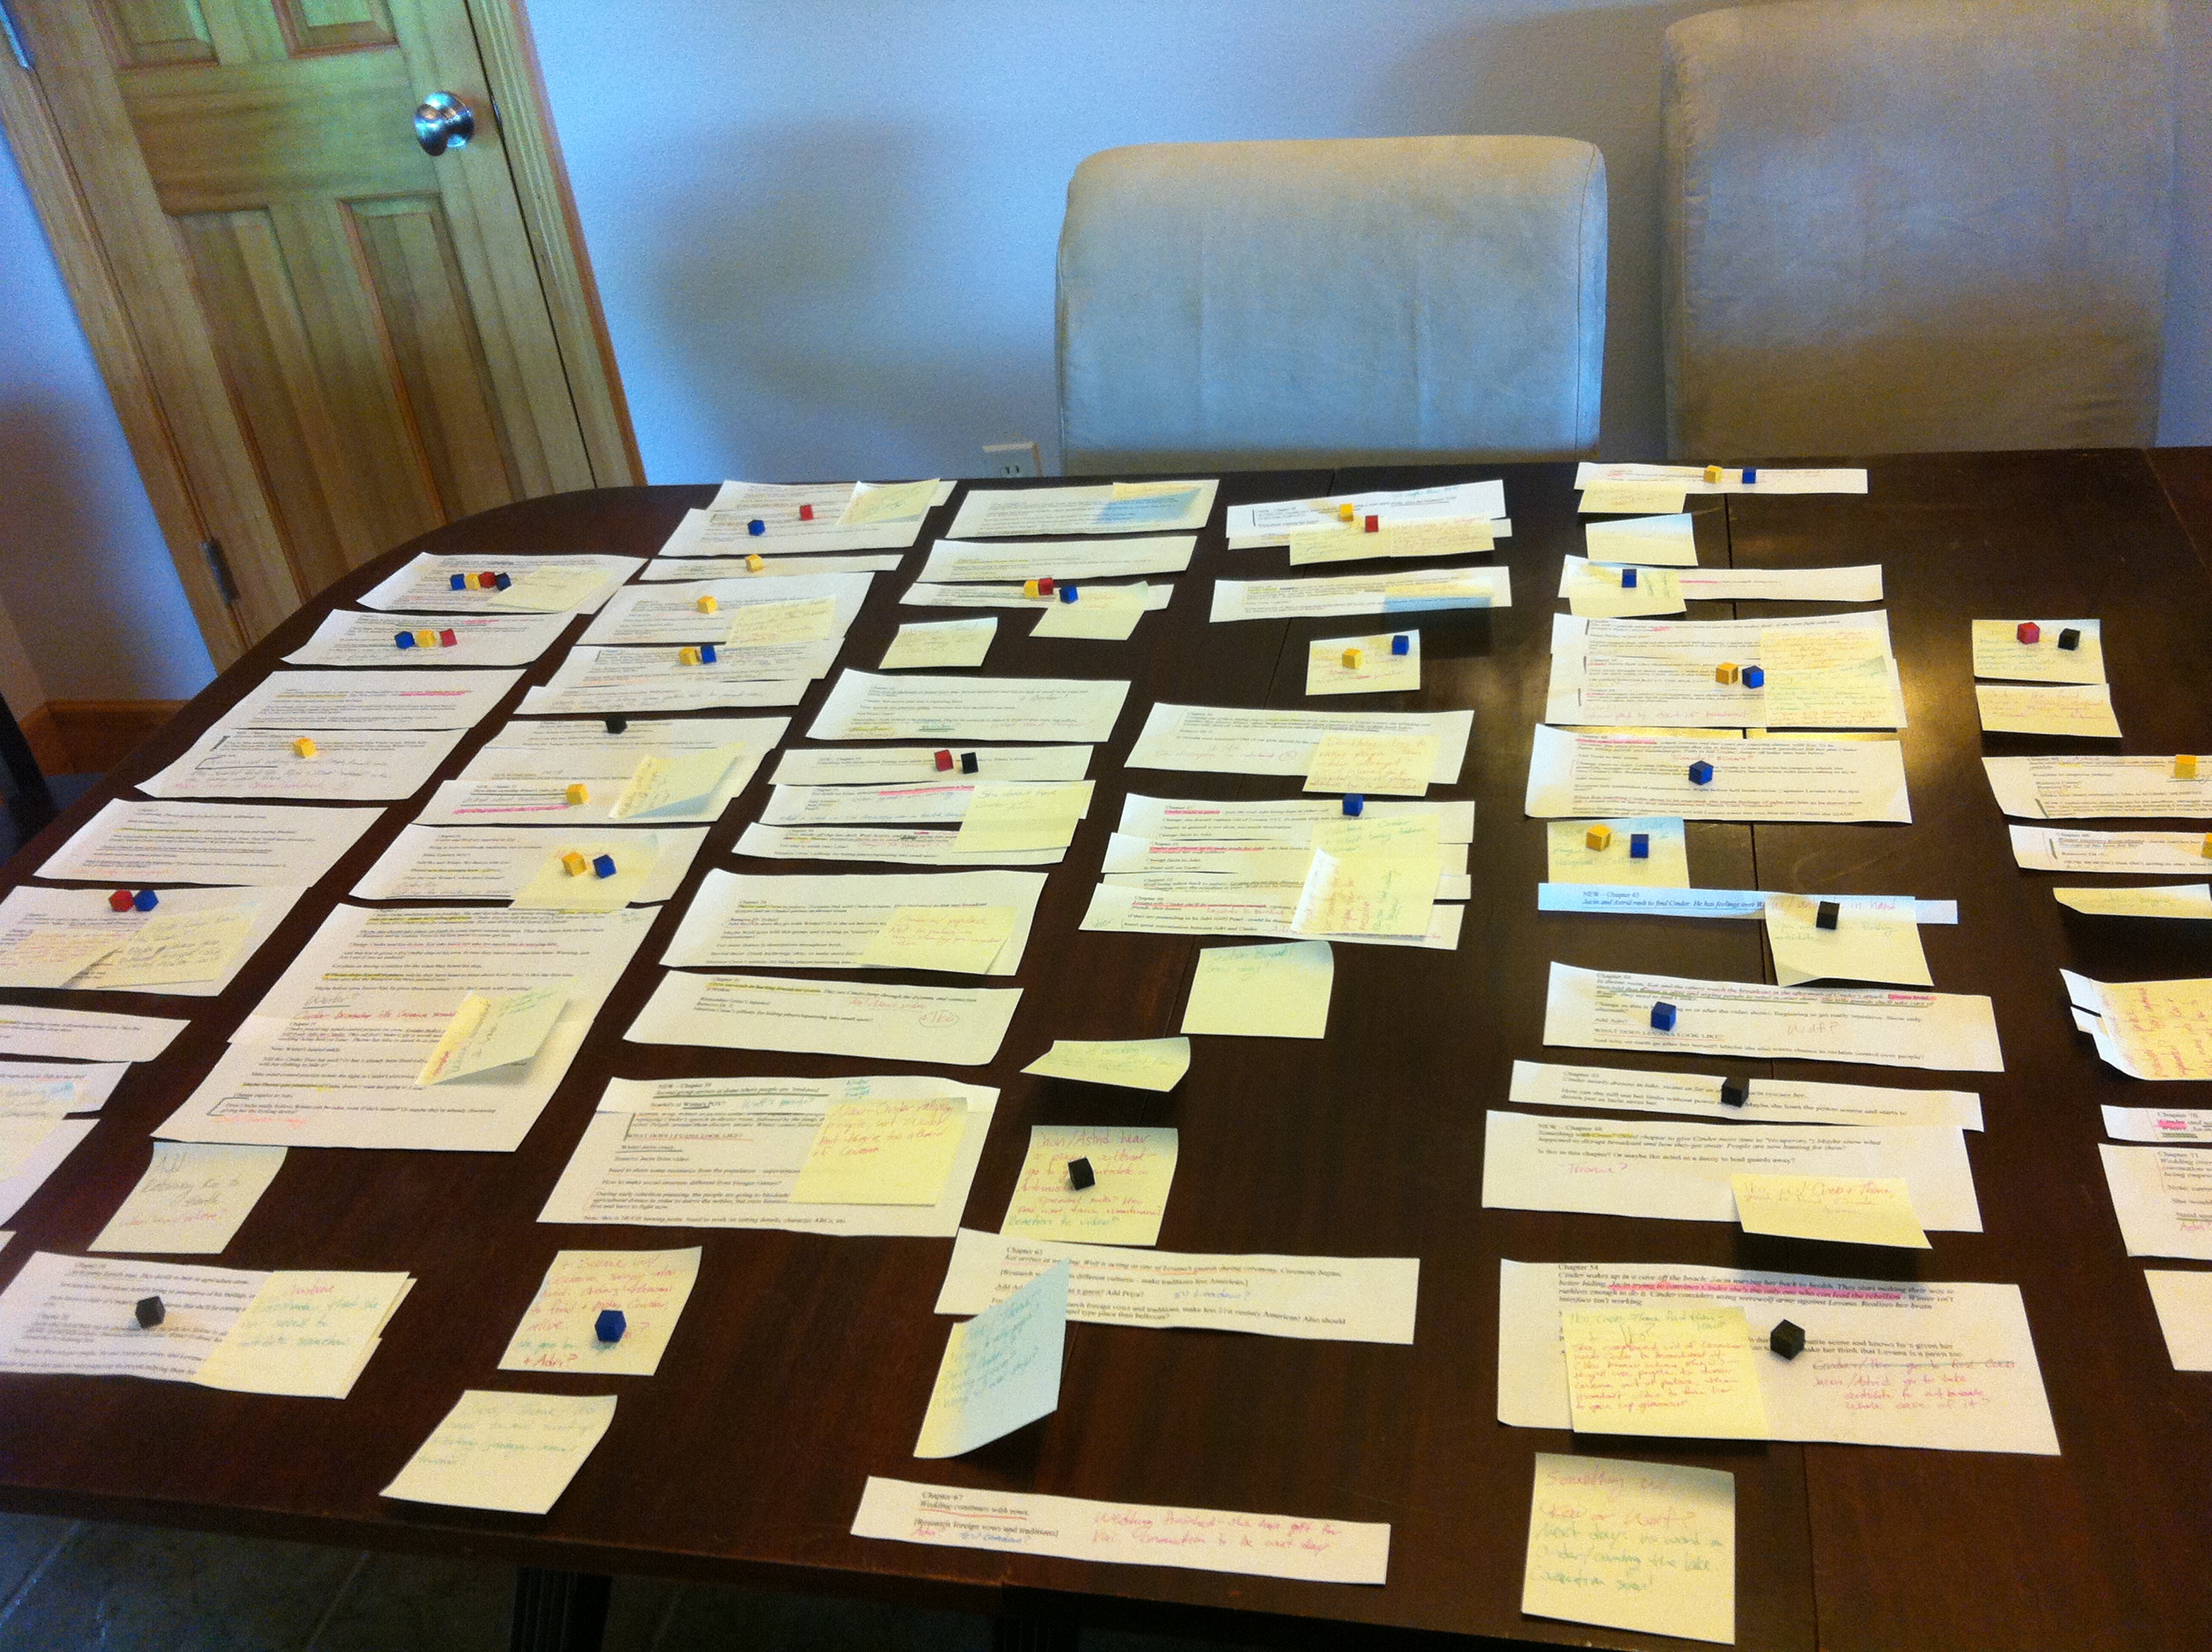
Once again able to see (at a glance) which subplots were weak or unbalanced, I added more notes and more scenes to strengthen them.
8. Transcribe the changes to thescene list (or Scrivener). Once I felt that I had done as much as I could to make a strong novel, short of actually writing it, I made the necessary changes on my Scrivener cork board (or you could notate it all on that handy dandy scene list). I rearranged the scenes from the first draft that needed rearranging. I added the summaries of the new scenes I’d come up with. I made notes about ways to show how this romance is tried in this chapter, how this character is made to question their motives here, how this chapter is meant to bring closure to this particular subplot, how I must mention here that the character has a weapon (foreshadowing a time in the future that they’ll have to use it), and on and on.
9. Then, finally, I start in on Draft #2. Self-explanatory, I hope.
This entire process took about two weeks, which is significantly longer than I would normally spend on planning a revision draft, except this book is just so long and so complicated. In the end, I suspect taking the time to do this has saved me months of additional revision work.
That said—I wish I could say that putting all this forethought and planning into my first revision draft has made it an absolute breeze. But the fact is, no amount of planning will keep plots from shifting, character motives from changing, and little interesting details from creeping up during the actual writing of a scene and throwing you for a tailspin. I’m still constantly making changes to that scene list and reworking plot threads that had seemed perfect when they were laid out on my dining room table, but I’ve since realized have an unexpected flaw in them. I’m already making a list of things I want to change and fix in Draft #3.
But this process has given me a foundation to work from, and the confidence that—no matter what changes—this story has a beginning and a middle and an end, and all plot threads are at least accounted for. There will be more work to do later, but this gave me a place to start, which is often the scariest part of any draft.