
In yesterday’s post, I talked a bit about my process for pre-writing (both novels and graphic novels), and some of the differences between the two.
Today, I want to go into more detail on the actual writing of the script–particularly the panel descriptions–and some of the more technical things to consider when writing a graphic novel or comic.
Developing a Style
Like I mentioned in Part I, I discovered in researching comic writing styles that some authors write incredibly lengthy and detailed descriptions for their panels, with a very specific plan for how they want a setting to look or an action sequence to play out, while other authors are more generic with their descriptions and opt to leave the details, and sometimes the actions themselves, up to the artists’ discretion.
I’d say that I ended up falling somewhere in the middle, but I only discovered this in practice. Because I already knew these characters so well, I had a very keen sense of how any of them would react at any given time, so a lot of my artistic direction was focused on how each character’s facial expression should be, or their hand gestures or body language.
There would also be times when I had a very clear idea of what a setting looked like, and that would lend itself to a lengthier panel description—especially for settings that have already been described in the novels, as it was important to me that the two match.
Here’s an example of one of my lengthier panel descriptions:
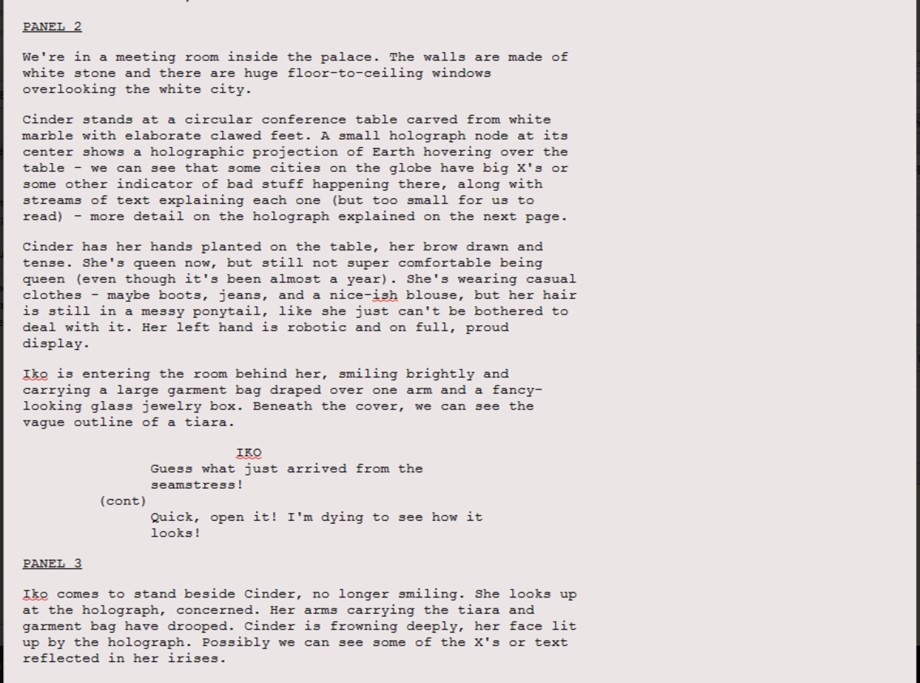
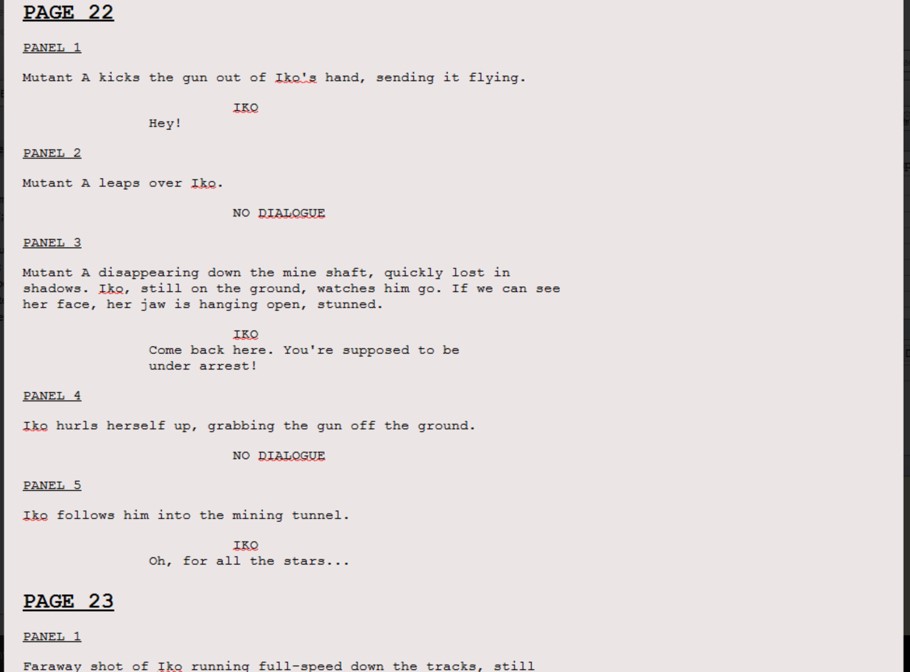
Alternatively, there would be pages, especially action-oriented or exposition-heavy pages, where the descriptions were much shorter, and I was more than happy to let the artist take over and do what he does best—bringing the story to life through the illustrations.
On average, I would say that the majority of panels had no more than two or three sentences describing the illustration, and yet both of the artists I worked with were able to capture what I envisioned wonderfully. Though that could have a lot to do with the competence and talent of those artists as much as anything in the script!
Other Considerations
Beyond just trying to tell the story in this new, visual format, there were a number of other things that I tried to keep in mind as I was writing the script.
Number of panels: Generally, I aimed to keep each page to around four to six panels. That felt like a good, natural pace for this story. However, there are plenty of exceptions – times when more or fewer panels made more sense. There were also times when I wanted a page to end on a mini-cliffhanger, or wanted a big visual reveal after a page turn, so that required some finagling of the panels to make sure the page ended where I needed it to.
Balancing dialogue and visuals: I also tried to keep a balance between pages that are super dialogue heavy and those that are more visual. In scenes where there’s lots of exposition (i.e., dialogue explaining stuff), I tried hard to come up with actions for the characters to be doing, so it wouldn’t just be a face panel after a face panel after a face panel.
(That said, I have to give a ton of credit to the artists—Stephen Gilpin and Douglas Holgate—who often took the art direction I’d given in the script and ran with it, making the illustrations even more exciting and action-oriented than I’d foreseen, and always in ways that blew me away! But more on working with the artist later.)
Chapter length: Though I didn’t have any strict rules to follow as to how long a chapter should be, I like to have some consistency in chapter length (ditto in my novels), so if a chapter was running long, I would consider how to tighten it up, and if it felt too short, I would consider if anything could be rearranged in the chapters before or after it to even them out. I try not to pad a chapter merely for the sake of increasing page count, but usually with a bit of brainstorming I could find ways to make it work.
Ending on an even number: I knew that I wanted each chapter to begin on a right-hand page, which meant that every chapter had to be an even number of pages (30 or 32, never 31). This later had the added benefit of letting the designer add in those pretty star-covered chapter breaks throughout the book.
SFX (a.k.a. Sound Effects)
One element of graphic novel writing that is a LOT different from writing novels was coming up with the Sound Effects!
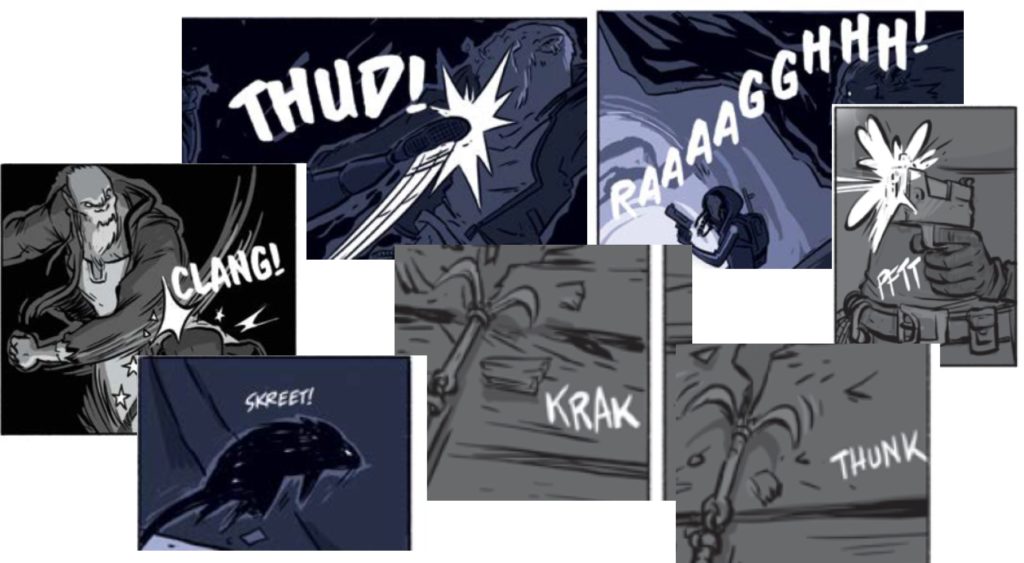
The thing about sound effects in comics is that, when done well, the reader hardly notices them. They become a part of the picture, and when your eye hits them, you “hear” it in your head, without any annoying, practical voices in your thoughts piping up to say, “Ummmm, what exactly is PFFFT supposed to mean?”
However, when you’re writing the script, without any visual context to guide you, it can be pretty hard to silence those annoying, practical voices. Pretty much all sound effects look weird in the script (at least to me!), so this part of the process required a lot of trust that they would work once they got placed into the illustrations.
How do you come up with sound effects? For me, it involved a whole lot of sitting in my office, staring at the ceiling, and making funny noises, trying to determine how that would be spelled, exactly.
So when Iko is injured and her internal wires are sparking, I would think, okay, a spark sounds like…. “Zip? Zap? Zat? Zzzzzzit? Snap crackle pop?”
Eventually, I ended up with the sound effect: SZIT SZIT
Still looks weird, even now, but I think it works pretty well in context.
Beyond that, I spent a fair amount of time poring through my own collection of graphic novels to see what sound effects other people had used in certain situations, or browsing around the Comic Books Sound Effects Database. This usually gave me a jumping-off point for, say, how does a spaceship engine sound, or a gunshot, or a scream.
Once the script was complete, it went through revisions and editing, just like with any manuscript.
Then… the fun part.
Up next, in the fourth and final installment of this series, I’ll talk about working with the artist!
Read this blog series from the beginning: Part I | Part II | Part III