In Part I of this blog series, I talked about where the idea for Wires and Nerve came from, and some of the resources I used to research graphic novel scriptwriting.
The next step for me was very similar to my process with novel-writing, too.
I started to plan out the story.
Pre-Writing
Once I felt like I had a solid grasp on what needed to go into the script and what the formatting would look like, it was time to start really figuring out the scope of the overall story. This part of the process looked pretty much exactly like how I start all of my books. I’m a planner / outliner, so I employed a lot of the same strategies here.
I already had a basic premise for the story:
Rogue Lunar wolf soldiers are wrecking havoc on Earth, and Iko has taken it upon herself to hunt them down and return them to Luna before they can destroy the tenuous new peace agreement that’s been established. There would also be romance, a new villain rising to power, and some flashbacks that delved more into Iko’s backstory.
With that premise in mind, I spent lots of time brainstorming ideas for scenes, plot twists, characters, settings, and ways to work in all of our favorite crew mates from the Rampion, while trying to build on the places where Winter had left off.
Once I felt like the story was forming into something coherent, I drafted a full synopsis and had it approved by my editor.
That synopsis then became the start of writing a scene-by-scene outline—again, this very much mimics my process for novel-writing.
However, once I had my scene-by-scene outline complete, I narrowed in on the story even more, employing a strategy that Stan Lee himself uses (because, hey, if it works for Stan Lee, who am I to argue?).
With my complete outline in hand, I set about writing a page-by-page outline, detailing exactly what needed to happen on each and every page that would move the story forward.
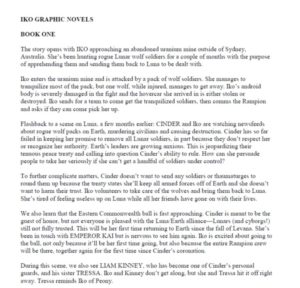
Though I didn’t save any of that original outline, it was a really simple breakdown of the story – nothing complicated. It essentially looked like:
1: Establish scene – somewhere in Australia
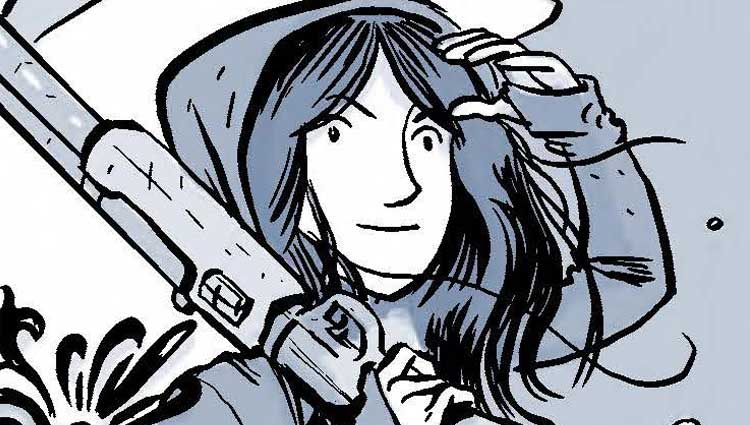
2: Iko scaling cliff
3: Iko arrives outside abandoned mine
4-5: Preparing to enter mine, Iko explains how she is hunting wolf soldiers
6: Enters the mine; show how she is alone
7: Searching the mine, establish creepy setting
8: A wolf soldier sneaks up behind her
9: Fight!
10: Iko tries to get soldier to surrender
11: Iko shoots soldier and misses; he discovers that she’s an android
12: Soldier runs away; Iko chases him.
Etc. Etc. Easy, right?
I’m not sure I would have done this if I hadn’t read about Stan Lee doing it, but it was easily one of the best tips I’d learned. Because once I started drafting the script, I discovered that it is SO EASY to get caught up writing pages and pages of dialogue, without anything ever happening. Or having so much dialogue dumped onto a page that you forget to give the characters interesting visual things to be doing at the same time. But by starting off with this page-by-page outline, it ensured that something interesting and important would be happening at all times.
It also forced me to maintain a bit of brevity at those times when I wanted to go off on tangents. And I always want to go off on tangents.
Which is all to say—Thank You, Stan Lee!
Discovering the Scrivener Template
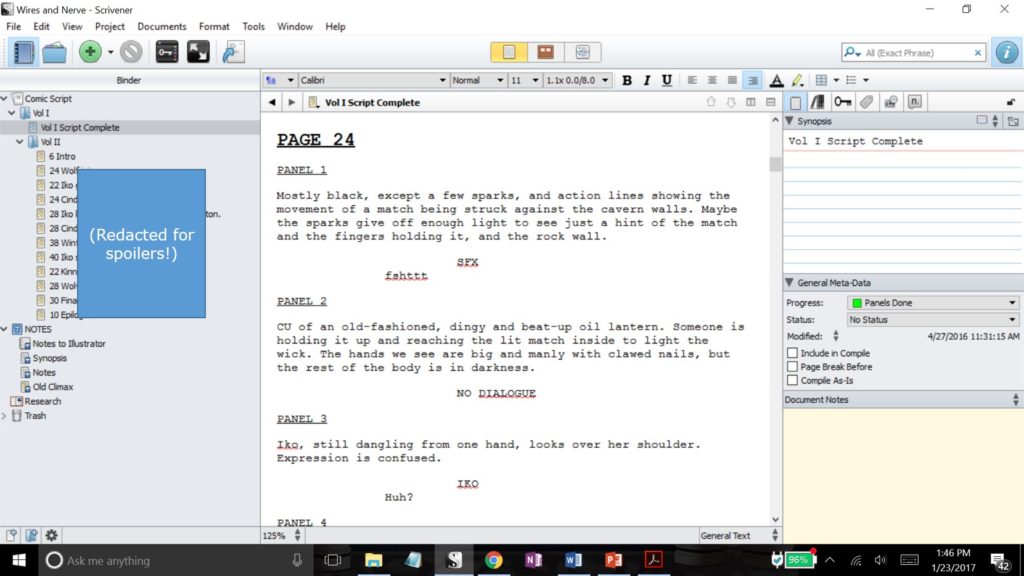
Once my outlines were complete, I transferred them into a Scrivener file. I do all my writing using the software program Scrivener, and whether you write books or graphic novels, I cannot recommend the program enough. It has really made my life so much easier in so many ways, and I can’t even imagine how I managed to write Cinder using nothing but Microsoft Word way back when. (Dude, old school.)
So when I first set out to write WIRES AND NERVE, I was so excited to see that Scrivener comes equipped with a comic book script template! (Sweet!)
That means that I didn’t need to waste my time formatting everything (center the text, capslock, character name, next line, tab tab tab, dialogue) and on and on. Rather, the template intuitively knows that after a panel comes a panel description, which is usually followed by a character name, which is followed by dialogue, and it automatically changes the formatting as you go. It did take some practice to get a hang of the proper keystrokes to get it to do what I wanted it to do, but once I got past the learning curve, the formatting aspect took care of itself. Hallelujah!
Drafting a Novel vs. a Graphic Novel
So at this point, once I really started getting into the nitty-gritty writing of the thing, I discovered possibly the biggest difference between writing a novel and a graphic novel—at least for me. Because I’ve gotten used to drafting very fast first drafts of my books, it is not unusual for me to average 1500+ words (6 pages) in an hour, or 5000+ words (20 pages) a day, when I’m working on a novel.
Which is not the case with writing graphic novels! (Again, at least for me. Very possibly there are other writers who can burn through these pages with no problem. I am so not one of them.)
Why?
Because with a graphic novel, I found myself having to pause before writing every. Single. Panel. Pause and ask myself:
What is happening in this panel?
Okay, what does that look like?
Picture it in my mind…
Okay, how do I convey that to the artist?
Type type type…
Okay, now what are the characters saying here?
Type type type…
Umm, okay, that’s pretty good. Do we need any sound effects? Yes? Well, what does that sound like?
Think think think…
Type type type…
I think I like that. Good job. *pats self on back*
Moves on to next panel.
So… what is happening in this panel?
So every step of the way would require me to stop and consider the story, panel-by-panel, action-by-action, line-by-line, and there just wasn’t anything speedy about it!
In Part III, I’ll go into a bit more detail on panel descriptions and other technical considerations of scriptwriting. Stay tuned!